Trending

An attic fills up quietly. A few boxes of terracotta pots after the first frost, then the parasol, then the cushions you meant to clean before storing. Before long the hatch is an obstacle course and the idea of converting the space feels remote. The trick is to store things in a way that assumes the room will happen one day—even if that day is five winters away.
Garden gear makes this harder than it sounds. Pots are heavy, furniture is awkward, and cushions need to stay dry. But an attic is also one of the most useful rooms a house has not yet built. Store with that future in mind and you avoid the expensive, annoying work of emptying the whole space before a builder can even measure it.
Before you carry anything up the ladder, look at what is actually holding the attic floor. In many unconverted attics, the ceiling joists are sized to carry a ceiling, insulation and light storage—not a wall of packed crates. That does not mean you cannot use the space. It means you need to be sensible about where the weight goes.
Keep heavy items—bags of compost, stacked pots, tool boxes, full storage crates—over or close to load-bearing walls rather than out at the eaves. Spread weight across several joists instead of concentrating it on one. If you plan to store dense, heavy things over a large area, or if the joists look slender, bowed or have been cut or notched in the past, ask a structural engineer to look before you fill the space. It is a small cost compared with repairing a ceiling.
Roof trusses are engineered as a system. Do not cut, notch or hang heavy loads from them without professional advice. A few light bags of seed trays hanging from a purlin is one thing; a punch bag or a stack of timber is another.
You do not need architectural drawings. You need a rough map, a tape measure and some floor tape. Measure the head height across the attic, note where the hatch is, and mark any chimney breast, water tank, cables or awkward corners. Then divide the floor into zones.
A future conversion often hinges on where a staircase can land. If you have a rough idea of where stairs might go, mark that rectangle on the floor now. It costs nothing and prevents you from building a wall of crates exactly where a stair opening would need to be.
A roof is not just a lid. It needs to breathe, drain and insulate. Air usually moves from the eaves up under the roof covering and out at ridge or high-level vents. Boxes pushed tight against the eaves can block that path, especially when they are stacked from floor to rafter.
Leave a clear strip—roughly the width of your hand—between stored items and the roof membrane, eaves vents or insulation. Never compress insulation with heavy boxes. If the attic has deep insulation at ceiling level, use a raised platform: boards on spacers over the joists, not boards pressed directly into the insulation. That keeps the insulation lofted and gives you a stable surface.
Also keep recessed light fittings uncovered. They need air around them to shed heat. Do not box in a water tank so tightly that you cannot inspect it, and do not bury chimney flues or vents behind crates. If you see daylight through the roof, or damp patches on rafters, fix the leak before you store anything—cardboard and fabric will only make the problem worse.
The hatch is the weakest link in most attic storage. A small opening, a borrowed ladder and a torch is a poor combination when you are carrying a heavy pot. If you use the attic regularly, fit a proper light, keep a stable ladder or steps, and add a handrail near the hatch if the layout allows. Store nothing on the ladder itself, even for a minute.
Keep the top landing clear so you can step off the ladder without twisting. If the hatch is in a bedroom or hallway, think about how a full crate will pass through it, not just how you will climb through empty-handed. And if conversion is likely, leave the area around the proposed stair position free of shelving, boxes and anything that would have to be moved twice.
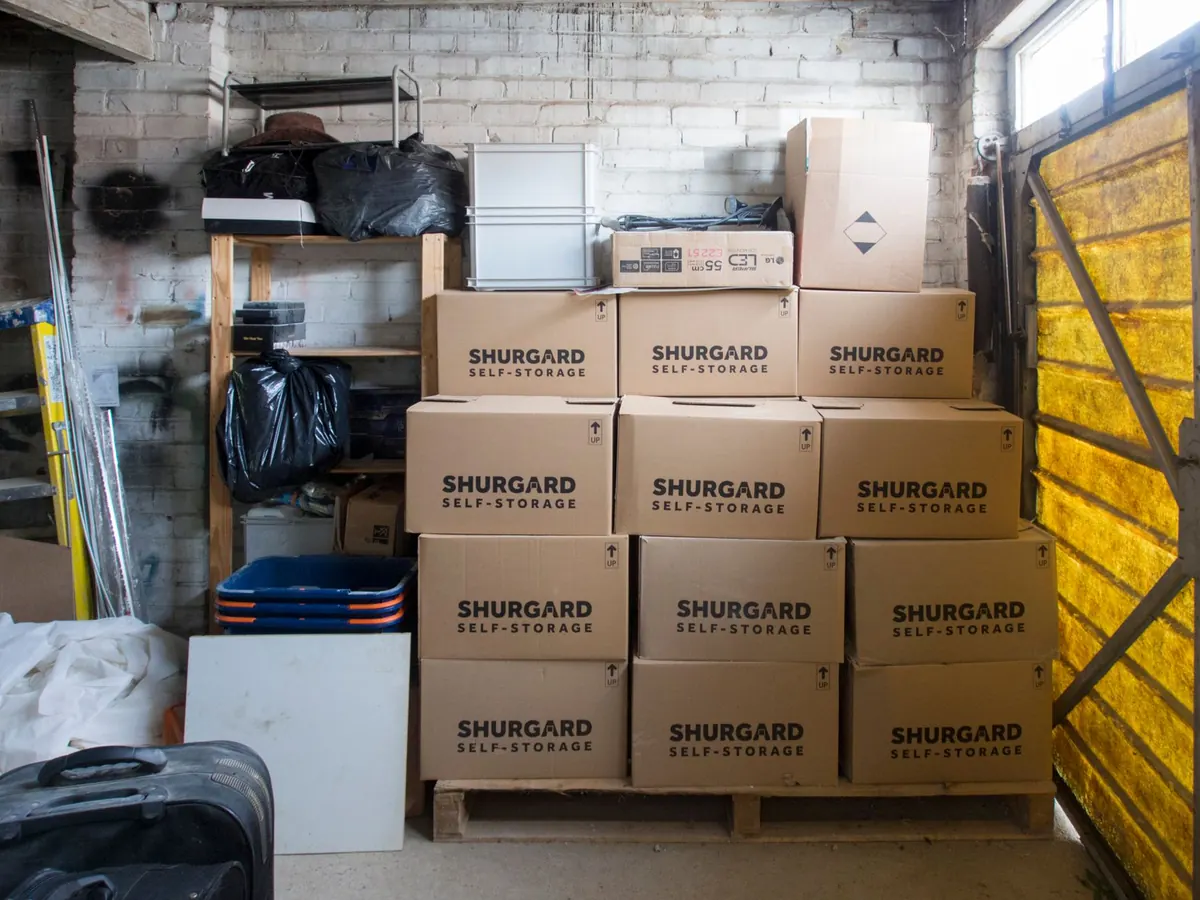
The best attic storage is boring: uniform crates, clear labels, sensible weights. Cardboard boxes absorb damp and give pests somewhere to live. Lidded plastic crates or breathable canvas bags are better for most garden items, and they stack more predictably.
Label each crate on the end that faces out, not the lid you cannot see. Keep heavy crates low and light ones high. Write a simple inventory on the inside of the hatch or keep a note on your phone—winter cushions, terracotta pots, seed trays, hose fittings. Next spring you will not have to open eight crates to find the one thing you need.
Garden items need a little care before they go up. Clean and oil tools. Empty and dry terracotta pots. Clean cushions and store them in breathable bags rather than sealed plastic, which can trap damp. Drain fuel-powered equipment according to the manual; do not store petrol, solvents or garden chemicals in an attic that gets hot. Check product labels, and if in doubt, leave them in a ventilated outbuilding or follow local disposal advice.
A future conversion will need space for insulation, wiring, pipes, ventilation and possibly a dormer or roof window. You do not have to design it now, but you do have to avoid making it harder. Keep cables and junction boxes visible and accessible. Do not bury pipes behind a wall of crates. Photograph the attic before you fill it, including the roof structure, any services and the position of the hatch.
Keep a folder—paper or digital—with measurements, photos, insulation depth and any paperwork for work done on the roof or attic. A builder will thank you, and you will avoid guessing later. If you are thinking seriously about converting, get advice early on structure, insulation and any permissions that may apply; rules vary by location and by building.
Once a year, go up with a torch and an empty bag. Check for daylight, damp, pest signs and blocked vents. Clear the access zone. Rotate seasonal garden items so the things you need next are near the hatch. Take a new photo of the layout.
Leave the front third of the attic empty. That empty space is not wasted—it is your conversion margin. It gives you somewhere to move boxes during inspection, wiring or insulation work, and it keeps the roof structure, services and future stair position visible. Store as if the room already exists, and when the day comes to convert, most of the hard work will already be done.
Photo: Brett Jordan / Pexels